Tuesday, July 13, 2010

So Sweet!

Here is a simple little 8x8 layout I did for a friend. It's almost too cute to give away. I should have made 2!


Cartridges used:
Once Upon a Princess: title (2.5")
Sweet Treats: icecream cone (3")
Create a Critter: smiley heart (.5-1.25"), icecream face(from 2" smiley heart), cupcake(3.25")

The cupcake frosting and icecream cone are embossed with folders from the asian cuttlebug set. Click to view larger image.

Monday, June 21, 2010

Hoot 'n' Holler

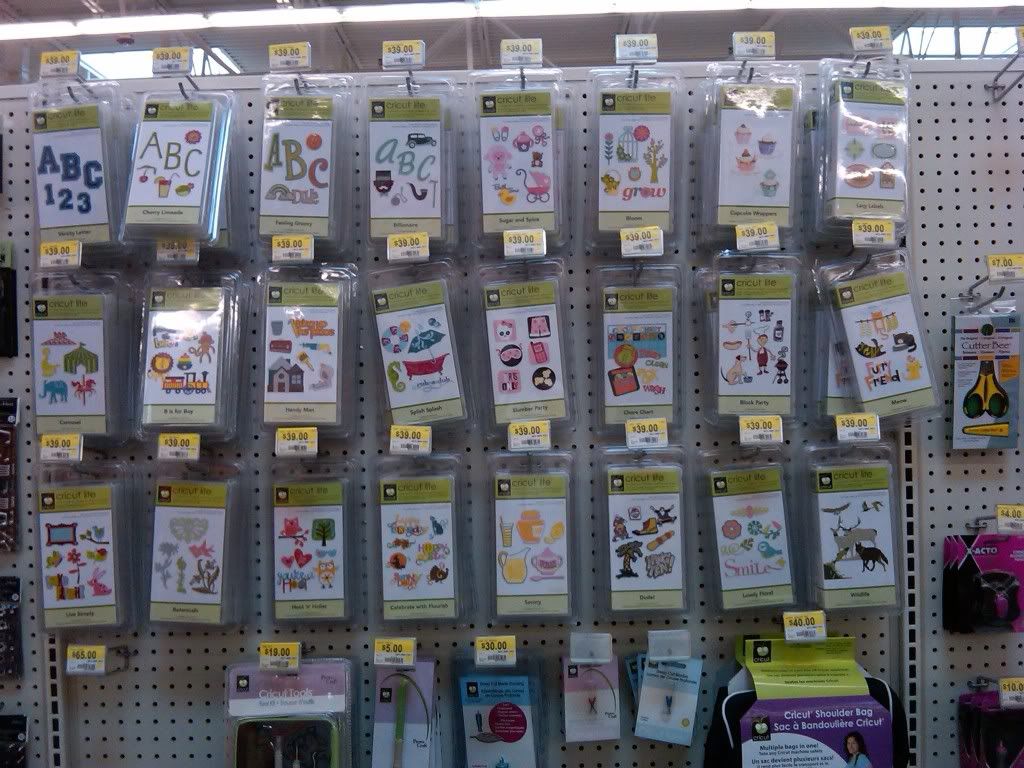
I was out with my kids on saturday, looking at bikes at Walmart. The bike section happens to be accross the aisle from the cricut section. Much to my surprise my small town store had all 24 of the new Cricut Lite cartridges!

We all looked at them and thought about which ones we would use and talked about how cute/fun/cool the designs are. An excited scream filled the store, "MY OWLS! MOMMY! MY OWLS!" followed by cart kicking clatter as my 3 year old tried frantically to move the cart with her buckled into the seat over to the display.
Photobucket
She'd spotted Hoot 'n' Holler and it was love at first sight.
Photobucket
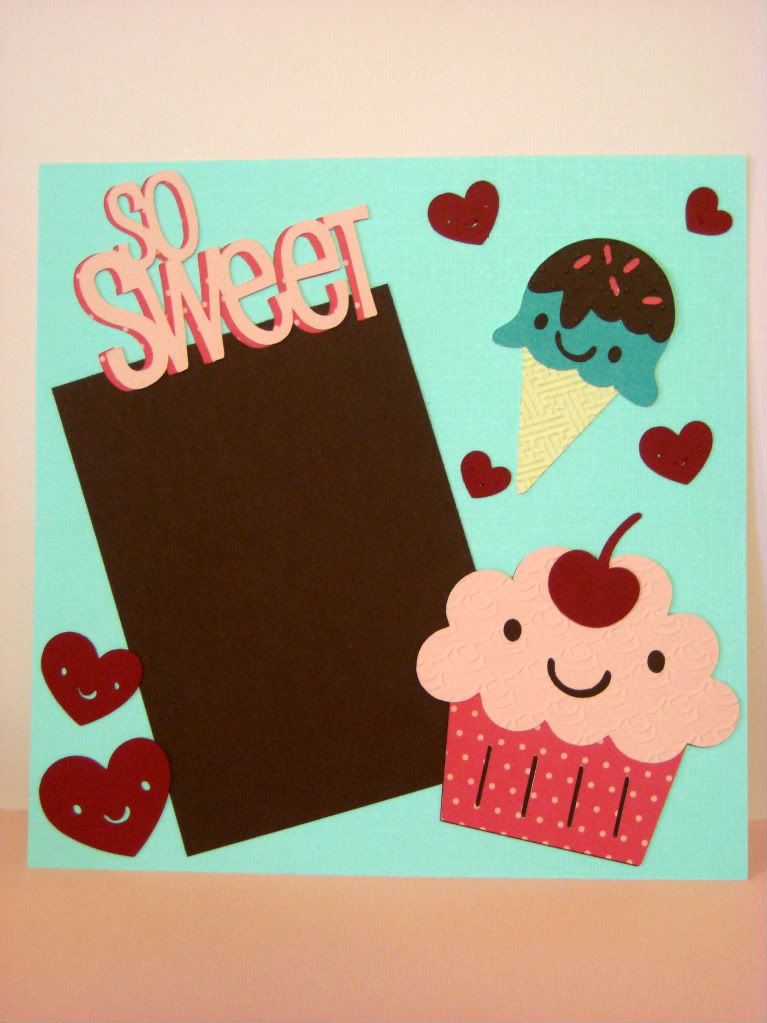
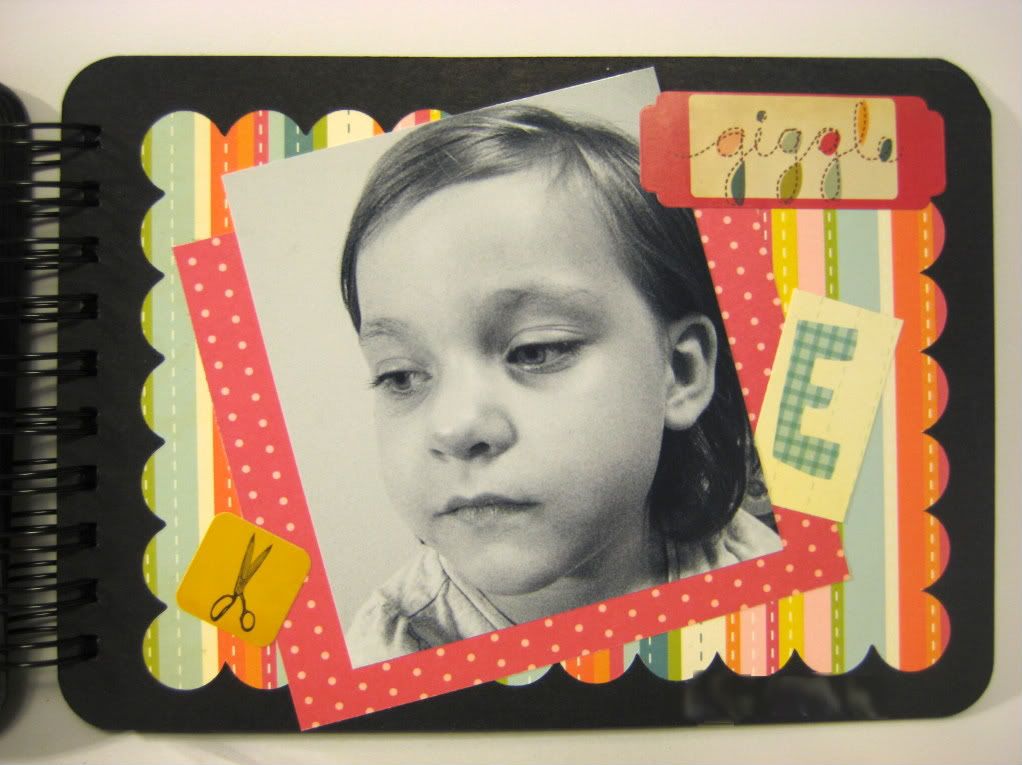
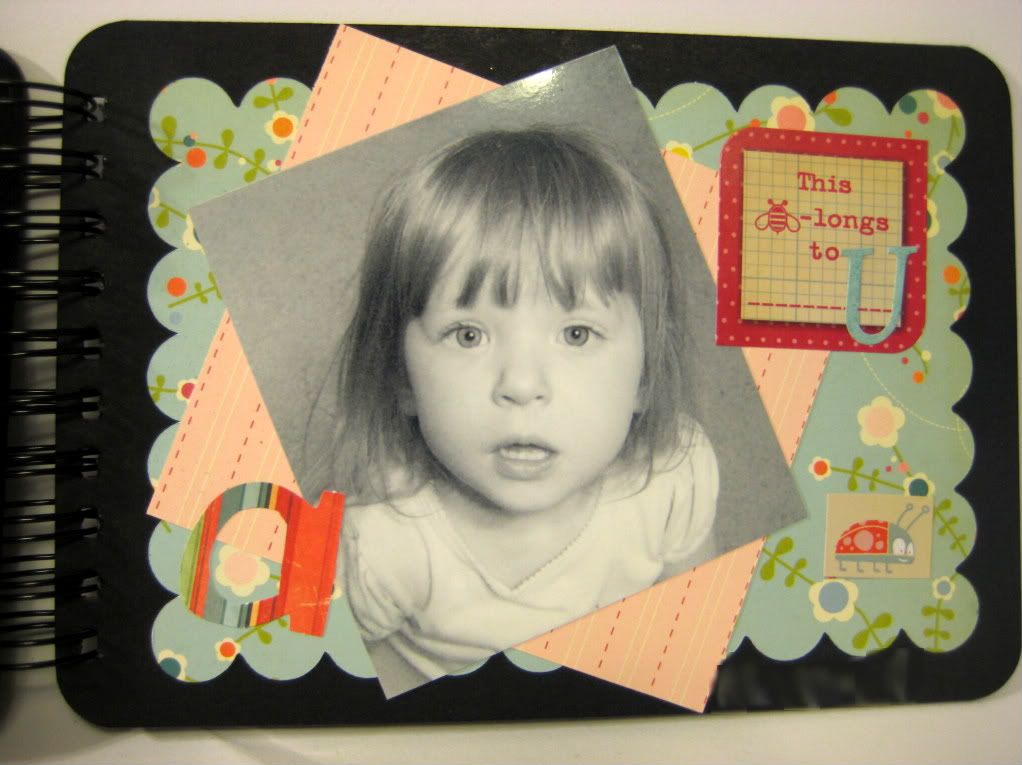
As soon as we got home we had to immediately make an owl. I can't think of anything much cuter than a girl and her owl fettish.
Photobucket

Knowing there are a lot of new Cricut users, and layers are a little bit of an issue for most newbies, here is a simple picture how to for layering using owl5 on Hoot 'n' Holler.
Photobucket
Tip: If you want to load the mat once, you can use (4) 6x6 papers, 1 for each layer color. If you have an Expression, put your bottom base layer color in the bottom left of the cutting mat. Navigate to the top right corner of the base color and hit the Set Paper Size key. You can now use the Fit To Page function key to make the owl as big as it will go on a 6x6 paper. This particular owl wound up being 5.5". After cutting the base layer (and paying attention to what size it told you it cut at) turn the Fit To Page off, and navigate to your next color. Make sure you set the dial size to what your base layer cut at!
Photobucket

Photobucket

Photobucket

Photobucket

Photobucket

Photobucket

Sunday, June 20, 2010

Happy Father's Day!

Happy Father's day to all the dads, grandads, husbands, brothers and uncles out there today. I really hope you are having a special day. Ours started out with Daddy sleeping late, getting showered with candy and treats from the kids. Hand made pictures and notes and sweets in honor of that special guy we can't live without. Daddy also got a special little album with a secret message inside! Can you find the message?

Photobucket

Photobucket

Photobucket

Photobucket

Photobucket

Photobucket

Photobucket

Photobucket

The album is small enough to take to work and show off. Daddy is pretty proud of the fact that he has 6 kids and a SAHM wife. He loves shocking the guys at work with those little tidbits! We are proud to have such an awesome hardworking guy in our lives.Cover artwork is courtesy of Ellie (front) and Avram (back). The back just cracks me up. Avram left the message in magnets the other day and I couldn't help snapping a picture. Then while going through my 8x8 Cosmo Cricket Get Happy paper pad I found the "pop quiz" journaling card. A perfect match! Did you find the secret message yet?

Monday, October 12, 2009

Owl thank you cards

I rarely buy wood mounted stamps, but I found this darling new release from Hero Arts after noticing a 40% off sign at Michael's. I really can not resist owls, and I needed to make some thank you cards. Here is the result:

Photobucket

A close up of the stamped image:
Photobucket

This stamp lends itself easily to peicing. I stamped the image on 3 different K&Co papers. The news print owl was cut away from the paper and layered over the green with pop dots for added dimension. The Green was cut away from the border of the stamp and layered over the tan/dot paper. The tan/dot mat was cut from the Cricut cartridge, A Child's Year. All in all a very different effect over just stamping the image.

Thanks for looking!

Saturday, October 10, 2009

Super Cute Clear Stamp Storage

This handy little 10 page 4.5"x6" clear acrylic stamp album houses all 26 sets of monograms from Studio G series 23. To make this stamp album you will need 9"x12" acrylic sheets from Accucut.com. I quartered them into 4.5" x 6" and punched 10 holes along the 6" side and bound the book with 1.25" black O wires with my Bind-It-All. I also rounded the corners with the Crop-a-Dile Corner Chomper 1/4" side. You can also use the blue Round-It-All from Zutter. I would reccomend making the album with 8-9pages though. 10 was just a tad too bulky with all the stamps in, but I needed the pages to fit the entire 5 font alphabet in.

Front view:
Photobucket
The ribbon does not need to be untied. It can just be slipped off and on. It stays attached through some eyelets in the back cover.

Back view:
Photobucket

Inside page:
Photobucket
If you mount the clear stamps facing down on left hand side of the book as you look at it when opened, you will be able to see the images facing correctly when you flip the page back to the right hand side.
Photobucket

What a cute way to keep your clear stamps accessible for use. You can display your clear stamp collection along with your craft room decor! You can also purchase an 8x8" kit from Zutter...But I like this smaller one better. It was a LOT cheaper than $19.99 plus shipping. I did not come up with the idea, I just made it a lot cuter and cheaper. Hee hee!

Thursday, June 25, 2009

Give Away Today! Sweet!

There is a give away today featuring one of my all time favorite companies, Imaginisce! WOOT! Go check it out at Give Away Today.

Tuesday, June 23, 2009

I love my Dad because...

This is a sweet and simple little mini album the kids and I put together for Kevin for Father's Day. The 6x8.5" black chipboard pages were purchased from Speedway Paper Products. They do not have black in stock any more. I hope they do get more in because I LOVE it! I bound it all together with 1.25" rings and a Bind-It-All. So glad I had the jumbo rings on hand as this is a very chunky board book. The papers and stickers are all Cosmo Cricket from the Girl Friday and Cogsmo lines. The ticket and scallop mats are from the Doodlecharms, and Zoobaloo cricut cartridges, edited on Design Studio. I also used some border punches from fiskars, and EK Success.