Here is a quick video. Leave a comment if you still need help!
Monday, March 30, 2009
Thursday, March 26, 2009
making the album part 1
I found some time to work on my SUNSHINE acrylic album. This is so fun!
The first thing I like to do is choose papers and lay them out in the order I want them to be.

These papers are from the Bloom & Grow line (both color ways used) from My Mind's Eye. I used the more "solid" color sides. The multi color sides will be used later for the photo mats.
Then I trim off the white border so it will fit on my cutting mat nicely.

Then we start cutting letters! You can't see my laptop with Design Studio running, but it's there.

When you are cutting letters...make sure you are cutting the right one on the right page. I cut an N on the right paper, it was just the wrong N...OOPS!

Keep cutting until you have all your peices.

aren't they cute?
Now onto the adhesive. The Xyron permanent adhesive is probably your best bet. You need a smooth and even layer over the entire peice so that the adhesive doesn't show on the other side.

Make sure you flip your sheet over and burnish really well to make sure the adhesive is applied without any bubbles and will not peel off when you remove it from the liner. A plastic tool will work best.

Make SURE you peel the protective liner off the acrylic peices BEFORE adhering your letters! Be very careful when placing the letters. They stick easily and are impossible to remove.

Once you have the letter or shape in place, burnish again to get any bubbles out of the adhesive. This will make the back side of the paper crystal clear for the opposite side. You will be able to see where you need to burnish easily from the back side. Be careful not to scratch the acrylic when doing this! ALWAYS burnish on the PAPER side!
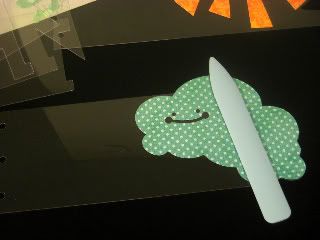
A happy flip side free of bubbles.

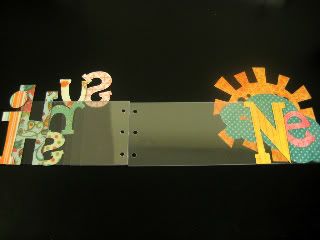
Part 1 all finished! Looks pretty neat so far!
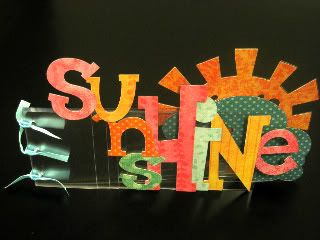
Photo mats and embellishments next time!
The first thing I like to do is choose papers and lay them out in the order I want them to be.

These papers are from the Bloom & Grow line (both color ways used) from My Mind's Eye. I used the more "solid" color sides. The multi color sides will be used later for the photo mats.
Then I trim off the white border so it will fit on my cutting mat nicely.

Then we start cutting letters! You can't see my laptop with Design Studio running, but it's there.

When you are cutting letters...make sure you are cutting the right one on the right page. I cut an N on the right paper, it was just the wrong N...OOPS!

Keep cutting until you have all your peices.

aren't they cute?
Now onto the adhesive. The Xyron permanent adhesive is probably your best bet. You need a smooth and even layer over the entire peice so that the adhesive doesn't show on the other side.

Make sure you flip your sheet over and burnish really well to make sure the adhesive is applied without any bubbles and will not peel off when you remove it from the liner. A plastic tool will work best.

Make SURE you peel the protective liner off the acrylic peices BEFORE adhering your letters! Be very careful when placing the letters. They stick easily and are impossible to remove.

Once you have the letter or shape in place, burnish again to get any bubbles out of the adhesive. This will make the back side of the paper crystal clear for the opposite side. You will be able to see where you need to burnish easily from the back side. Be careful not to scratch the acrylic when doing this! ALWAYS burnish on the PAPER side!

A happy flip side free of bubbles.


Part 1 all finished! Looks pretty neat so far!

Photo mats and embellishments next time!
Wednesday, March 25, 2009
Phoenix Crafts Blog Candy!
I just found this blog and the projects and photography are wonderful! Jennifer over at Phoenix Crafts really throws herself into her crafting! Check out her blog, and maybe sign up for some blog candy (shown below).


Monday, March 23, 2009
word books
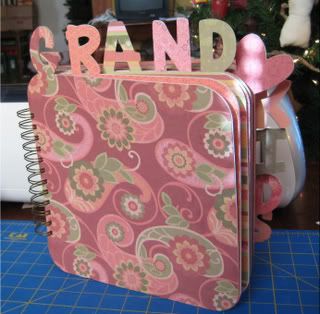
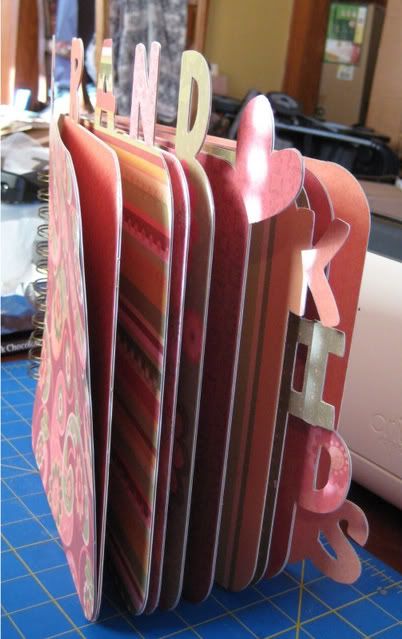
I finally got around to trying out the acrylic sheets on something a little more detailed than a little turtle. I really like how well this cut and I really love how this looks! Acrylic has been so easy to work with. Easier than chipboard has been. I can't wait to get it scrapped!
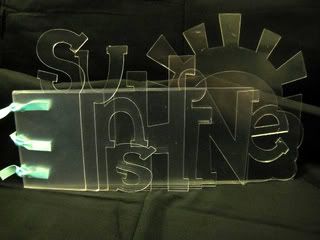
Here is a chipboard album I did the other day. I still need to scrap this one too! I guess I need to stop playing with designs and materials long enough to actually put pictures into the albums one of these days!
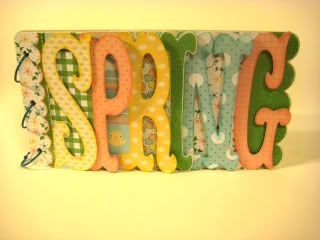

Here is a chipboard album I did the other day. I still need to scrap this one too! I guess I need to stop playing with designs and materials long enough to actually put pictures into the albums one of these days!

Monday, March 9, 2009
A different mini album
Sunday, March 8, 2009
I love vinyl!
I have to admit, I spend a lot of time cutting everything BUT paper. Anyone can cut paper. It's easy. Vinyl is easy too! The best settings on the Cricut machines is a blade depth of 6, pressure 2-3, and speed 4. Here is a sign I put together last night with layered vinyl lettering.
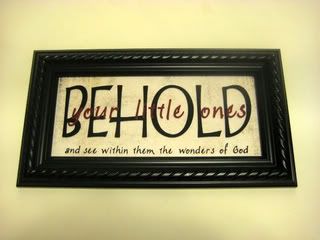
I also got to looking at vinyl wall decals on Etsy.com and there are some really amazing designers out there. I love all of the birdcage icons I saw. I could fill a room with them. I decided to design my own birdcage. I think it turned out pretty cute! I can't wait to get it cut and on the wall.

The main cage. I may add some punchwork detail to the top dome. I still need to design a bird too.
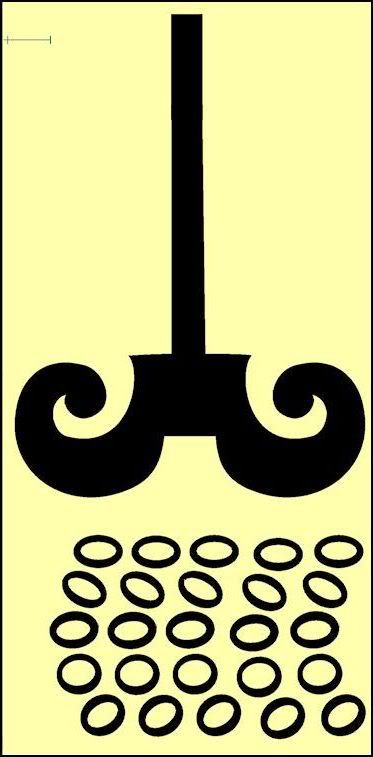
I am not sure if I want the cage hanging from the ceiling or on a floor stand. I am also not sure if I want the floor stand to have a table top or not, so I have those as options.
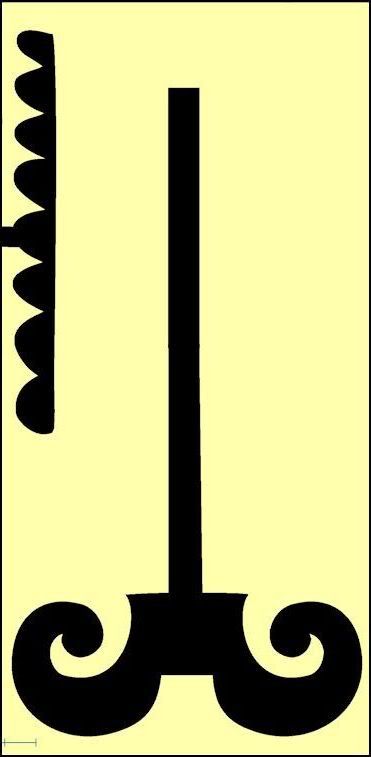
Cricut cartriges used: George and Basic Shapes, New Arrival, Joys of the Season, Celebrations, My Community

I also got to looking at vinyl wall decals on Etsy.com and there are some really amazing designers out there. I love all of the birdcage icons I saw. I could fill a room with them. I decided to design my own birdcage. I think it turned out pretty cute! I can't wait to get it cut and on the wall.

The main cage. I may add some punchwork detail to the top dome. I still need to design a bird too.

I am not sure if I want the cage hanging from the ceiling or on a floor stand. I am also not sure if I want the floor stand to have a table top or not, so I have those as options.

Cricut cartriges used: George and Basic Shapes, New Arrival, Joys of the Season, Celebrations, My Community
Subscribe to:
Comments (Atom)
