Monday, October 12, 2009

Owl thank you cards

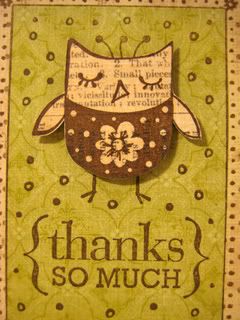
I rarely buy wood mounted stamps, but I found this darling new release from Hero Arts after noticing a 40% off sign at Michael's. I really can not resist owls, and I needed to make some thank you cards. Here is the result:

Photobucket

A close up of the stamped image:
Photobucket

This stamp lends itself easily to peicing. I stamped the image on 3 different K&Co papers. The news print owl was cut away from the paper and layered over the green with pop dots for added dimension. The Green was cut away from the border of the stamp and layered over the tan/dot paper. The tan/dot mat was cut from the Cricut cartridge, A Child's Year. All in all a very different effect over just stamping the image.

Thanks for looking!

Saturday, October 10, 2009

Super Cute Clear Stamp Storage

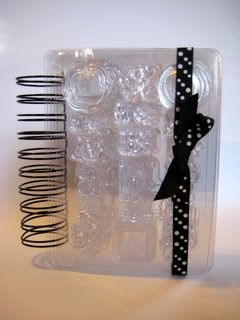
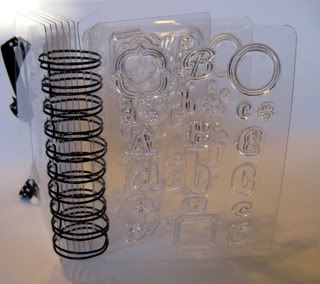
This handy little 10 page 4.5"x6" clear acrylic stamp album houses all 26 sets of monograms from Studio G series 23. To make this stamp album you will need 9"x12" acrylic sheets from Accucut.com. I quartered them into 4.5" x 6" and punched 10 holes along the 6" side and bound the book with 1.25" black O wires with my Bind-It-All. I also rounded the corners with the Crop-a-Dile Corner Chomper 1/4" side. You can also use the blue Round-It-All from Zutter. I would reccomend making the album with 8-9pages though. 10 was just a tad too bulky with all the stamps in, but I needed the pages to fit the entire 5 font alphabet in.

Front view:
Photobucket
The ribbon does not need to be untied. It can just be slipped off and on. It stays attached through some eyelets in the back cover.

Back view:
Photobucket

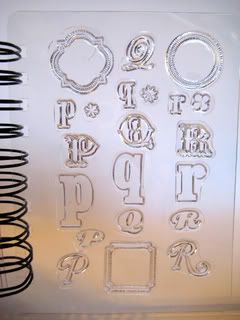
Inside page:
Photobucket
If you mount the clear stamps facing down on left hand side of the book as you look at it when opened, you will be able to see the images facing correctly when you flip the page back to the right hand side.
Photobucket

What a cute way to keep your clear stamps accessible for use. You can display your clear stamp collection along with your craft room decor! You can also purchase an 8x8" kit from Zutter...But I like this smaller one better. It was a LOT cheaper than $19.99 plus shipping. I did not come up with the idea, I just made it a lot cuter and cheaper. Hee hee!

Thursday, June 25, 2009

Give Away Today! Sweet!

There is a give away today featuring one of my all time favorite companies, Imaginisce! WOOT! Go check it out at Give Away Today.

Tuesday, June 23, 2009

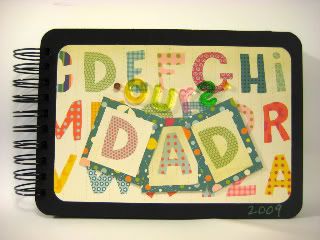
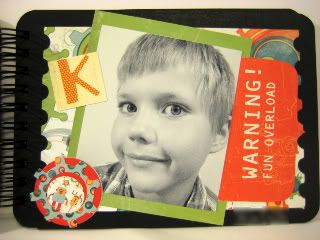
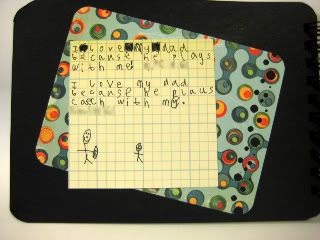
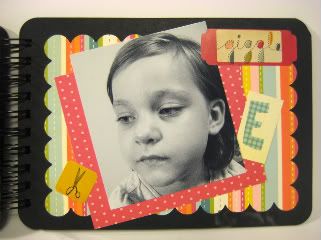
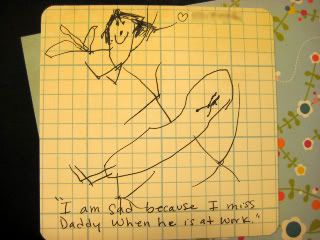
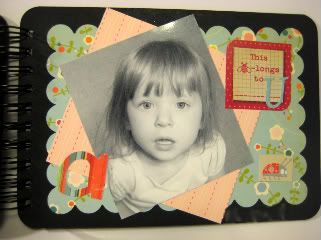
I love my Dad because...

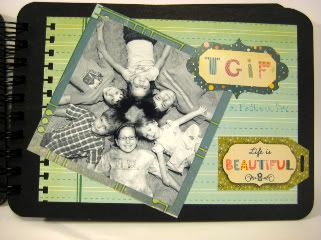
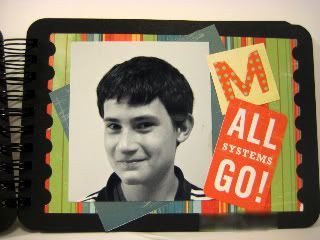
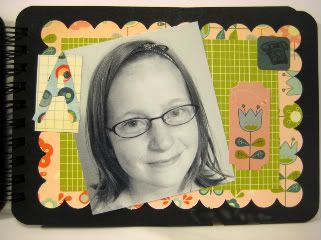
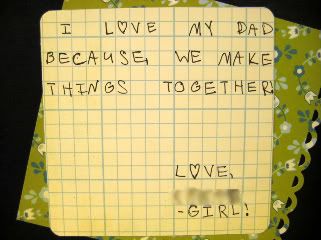
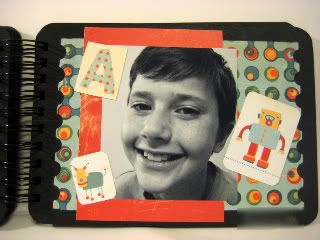
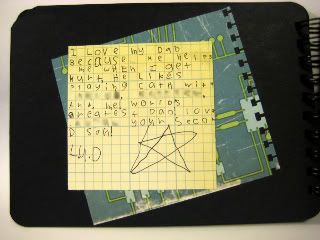
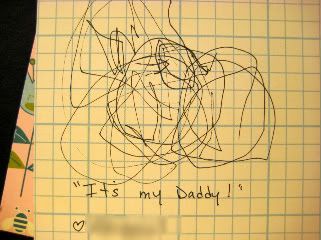
This is a sweet and simple little mini album the kids and I put together for Kevin for Father's Day. The 6x8.5" black chipboard pages were purchased from Speedway Paper Products. They do not have black in stock any more. I hope they do get more in because I LOVE it! I bound it all together with 1.25" rings and a Bind-It-All. So glad I had the jumbo rings on hand as this is a very chunky board book. The papers and stickers are all Cosmo Cricket from the Girl Friday and Cogsmo lines. The ticket and scallop mats are from the Doodlecharms, and Zoobaloo cricut cartridges, edited on Design Studio. I also used some border punches from fiskars, and EK Success.


Thursday, June 11, 2009

Sizzling Summer Paint Can Swap!

I wanted to get the word out on a REALLY FUN paint can swap I am hosting over on the Cricut Message Boards. It's been a chilly wet June here in Nebraska and I need some sunshine!

This is the perfect opportunity for a first time swapper, and great fun for those already in the know. It's a simple one time swap AND you have a good 6 weeks to get it done! Easy as pie in July!

The rules are simple:

-Sign up closes June 15, 2009 at 11:59pm CST I will post the swap partners on the morning of June 16th. Sign up by posting to the thread, then PMing me your information. Your information will stay with me until the completion of the swap at which time it will be purged never to be seen agian. I will not sell or use your information for any purpose other than this particular paint can swap. I need your name/address/email away from the message board.

-Decorate your gallon size paint can in a Sizzling Summer theme and create a coordinating card to go with it. This is a great time to practice your mad cardmaking skillz!

-Fill it with about $15 of scrapping goodies (check the master questionnaire thread for ideas) Be good to the person you are swapping with. Make sure if you put in any food items that they are NOT meltable! the mail gets hot this time of year!

-Ship paint can to your assigned swapper postmarked no later than July 31, 2009.

-Delivery Confirmation is required. Keep your receipts and tracking numbers! This is your only proof that you sent your package. Insurance is not req'd but I strongly reccomend it.

-Post a Thank You and (if possible) a photo of the can and card you receive with your goodies. It is very important to say thank you!

-Last but not least...HAVE FUN! What a great opportunity to use the new LAB Cart, all the pretty flowers on Tink, the beach things from PDDU or DC too! Let's get creative!

Feel free to leave a comment with any questions for concerns. You will need to create a free user account at Cricut.com and sign up via this thread. Hope to see some more sign ups!

Thursday, May 14, 2009

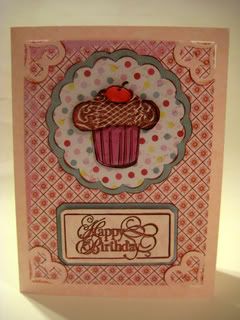
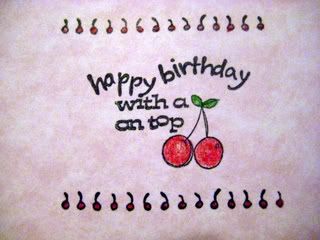
Birthday Card for a Friend

Here is a birthday card I made for a friend. It also worked for the Studio G Challenge #7 over at Paper Craft Planet Studio G Collectors


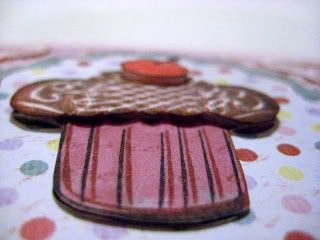
I stamped the cupcake image multiple times on different printed papers, cut the parts out and layered it back together with some pop dots for dimension. This is a really fun and easy technique. Give it a try some time!
PhotobucketPhotobucket
The inside sentiment uses 3 different Studio G clear stamps. I LOVE the tiny cherry border!
Photobucket

Wednesday, May 13, 2009

If you ask me for a picture...

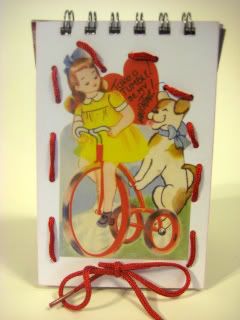
If you ask a crafter for a picture of their cartridge storage, she will tell you she has to clean up the creative clutter first. While she is cleaning up the clutter, she might find a blank board book that needs to go on the shelf. While putting the book on the shelf she might spy a box of vintage styled valentine lacing cards. Upon inspecting the box she will think,"these will be perfect to make into a little book for my little girls to bring to church to play with quietly." The crafter will then procede to measure the cards and set up her Bind-It-All, cut the chipboard covers and commence to make a book. After completing the little lacing card book, and admiring her handiwork, she might think that she needs to do this with the full size lacing cards and go upstairs to the bedroom closet and get those out. When she returns to her desk she may remember that she had also bought some animal flash cards which she intended to make a book from, and procede to punch the pages and make the custom chipboard cover. She might take a break from the exhausting "cleaning" and get her girls some lunch and down for a nap. After the girls are down, she might want to get on the computer to check her email again. When she checks her email there will be a message, similar to the one that follows:

"wow you must be talking to your dust bunnies as you clean lol"

THEN she will remember to take the picture of the shelves that was requested 2 hours ago and email the friend back with an explaination as to why it took so long...And then it may come to her attention that the explaination would be a funny blog post!

Here is the shelf:


Here is the book:

Saturday, May 9, 2009

Happy Mother's Day

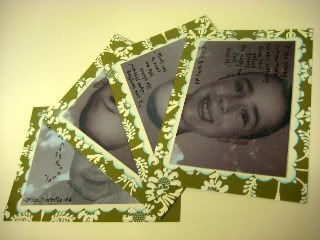
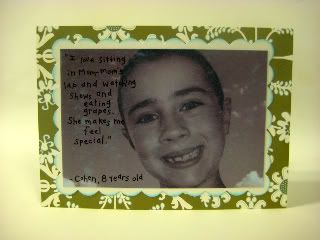
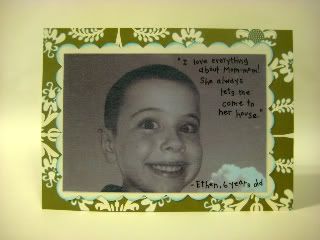
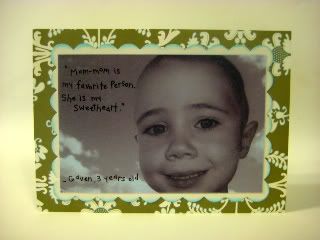
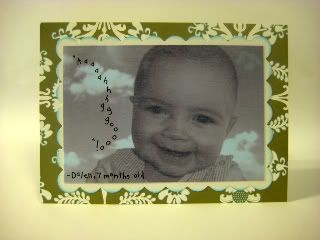
My guest designer/sister designed these super sweet mothers day post cards for her boys to give to Mom-mom. The quotes are printed on sky blue vellum, overlaying a sepia toned photograph. She hand wrote the quotes on plain paper and ran the vellum through her photocopier/scanner/printer to print. The sky was amazing the other day and she took advantage of it. She held the boys up in the air and photographed them on the sky and clouds background. It really is a neat effect, angelic children floating through the sky! What could be more sweet?

Click on the pictures for a larger version.


Wednesday, April 22, 2009

Blog Candy!

Tammy is celebrating her 100th follower with blog candy! She has a wonderful blog with many inspiring layouts and other paper crafts. Check it out!
Photobucket

New life for TBBM!

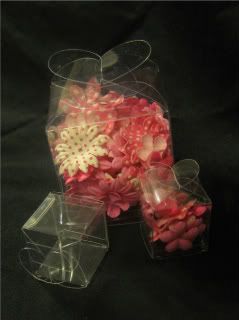
I know I know you must all be tired of hearing about Sarah's adventures with acrylic, but this is too cool to pass up. In a previous post I had mentioned there were two thicknesses of the acrylic. I finally got around to cutting the .007 sheets and they cut like butter! Easier than paper! Better yet is it is PERFECT for box making. Tags, Bags, Boxes & More has NEVER been more fun! I was just goofing around to try cutting settings out (blade 6, pressure max, speed high, multi-cut 1) and made thse cute little boxes. The finished sizes are just under 2", and just under 1" square. Wouldn't they make sweet little party favors for a bridal or baby shower? Maybe fill them with mini blossoms, buttons and brads and hand them out at the next crop you host...Anyway you want to gift them they are sure to please.

I can't wait to try out some other boxes and see how they fare. Clear library pockets and tags sound awesome too!

Saturday, April 18, 2009

Acrylic for Mom

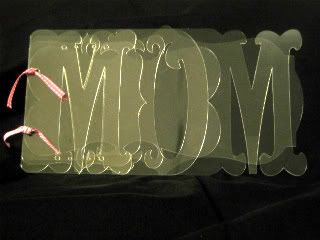
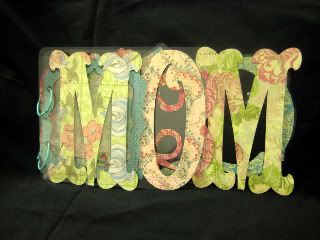
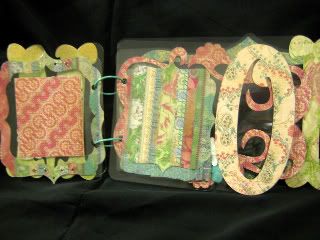
Here is the album I am making for Mother's Day. I am so addicted to acrylic! The entire album was made on Design Studio using the Storybook cartridge. This has to be my all time favorite cartridge. I am still working on the rest of the pages. This is what I have so far!

Click on images for larger view.


ATG gun stand

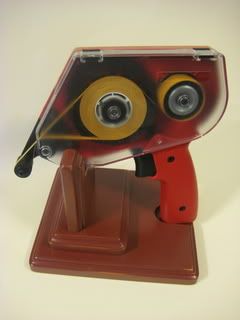
I received the most beautifully made ATG stand from a dear friend of mine. I finally got around to painting it and now I am showing it off. Thank you so much, Missy!
Photobucket

A closer look at the distressing.
Photobucket

Monday, April 13, 2009

Design Studio FAQ

I get asked a lot of questions about my files, and Design Studio in general. This particular one comes up from new users quite frequently!

Q: When I look at some cut files, there are extra shapes and lines. What are they? Do I need to do anything with them?

A: The extra shapes are lines are portions of welded shapes that were used to make the larger overall shape that you will be cutting. You do not need to do anything with them if the file was made correctly. Any file from me will come pre welded and ready to cut.

I have some sample screen shots so you can see what I am talking about.

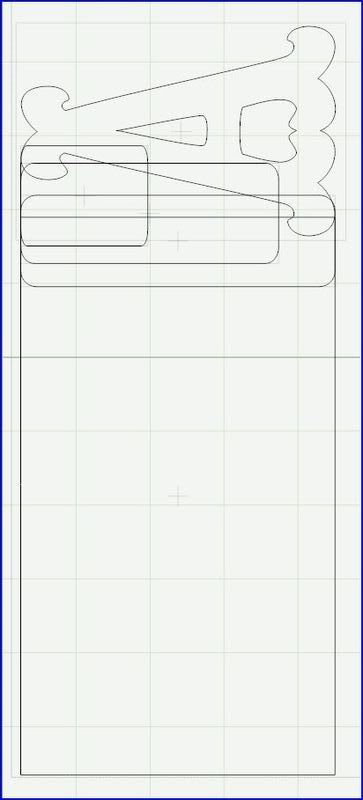
This shows what this particular word book page looks like on Design Studio. Notice the extra small rectangles next to the A? They actually make up part of the page, so that the page is solid and the A is fully attached.
Photobucket

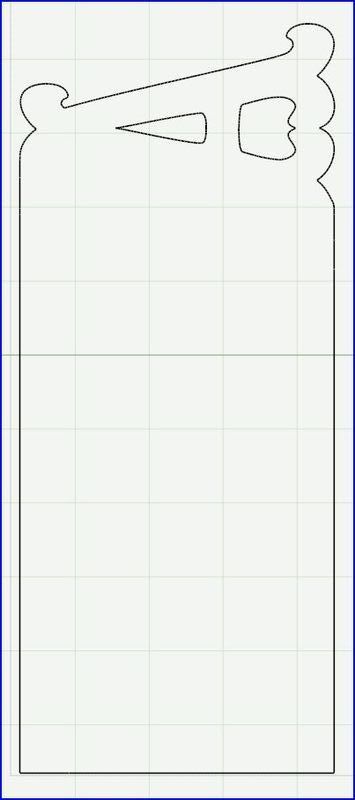
This shows what the actual CUTTING line looks like via the preview button (the eye on the left of the virtual mat). In order to get your preview to look like this you need to open a blank page, then hit preview. It will leave off the extra shapes and just show the heavy black cutting line. Make sure that you only have one page set to preview at a time. You can right click on the page, and either check or uncheck the "include page in preview" option to do this.
Photobucket

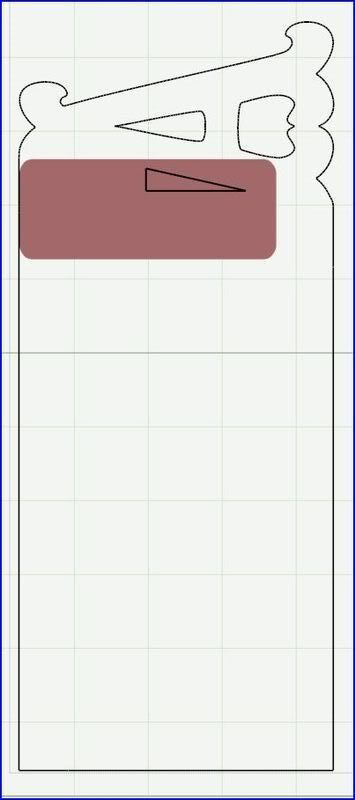
This view shows a preview, where one peice was NOT welded. The non-welded peice shows up as a solid color. Previewing is a necessity when welding multiple components into one single object or design. Welded portions will show a solid black outline, and no color. Non-welded portions will show a solid color fill.
Photobucket

I really hope that helped a little. If I confused you further I do appologize! Feel free to ask questions! I enjoy answering them, and helping others to enjoy the craft!

Sunday, April 5, 2009

Where to buy!

I finally figured out where the acrylic sheets I have been using came from! You can find them at AccucutCraft The sheets I have been using are the .02 thickness. The .007 is awesome to cut for cards! You have to buy it in bulk at a minimum of 25 sheets, so you may want to get a few friends together and split the package up.

Monday, March 30, 2009

video-acrylic cutting

Here is a quick video. Leave a comment if you still need help!

Thursday, March 26, 2009

making the album part 1

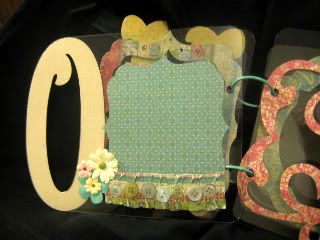
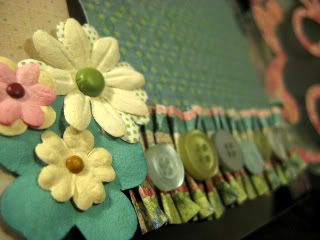
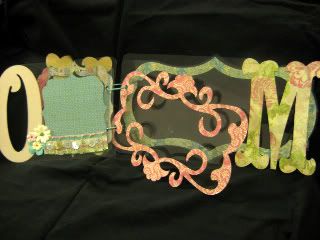
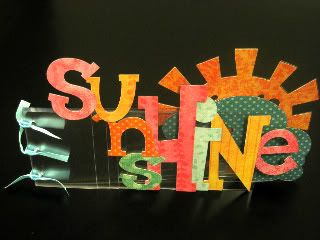
I found some time to work on my SUNSHINE acrylic album. This is so fun!

The first thing I like to do is choose papers and lay them out in the order I want them to be.
Photobucket
These papers are from the Bloom & Grow line (both color ways used) from My Mind's Eye. I used the more "solid" color sides. The multi color sides will be used later for the photo mats.


Then I trim off the white border so it will fit on my cutting mat nicely.
Photobucket

Then we start cutting letters! You can't see my laptop with Design Studio running, but it's there.
Photobucket

When you are cutting letters...make sure you are cutting the right one on the right page. I cut an N on the right paper, it was just the wrong N...OOPS!
Photobucket

Keep cutting until you have all your peices.
Photobucket
aren't they cute?

Now onto the adhesive. The Xyron permanent adhesive is probably your best bet. You need a smooth and even layer over the entire peice so that the adhesive doesn't show on the other side.
Photobucket

Make sure you flip your sheet over and burnish really well to make sure the adhesive is applied without any bubbles and will not peel off when you remove it from the liner. A plastic tool will work best.
Photobucket

Make SURE you peel the protective liner off the acrylic peices BEFORE adhering your letters! Be very careful when placing the letters. They stick easily and are impossible to remove.
Photobucket

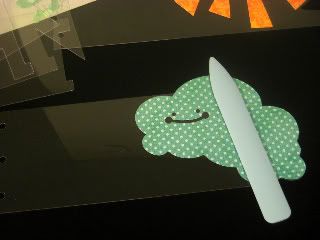
Once you have the letter or shape in place, burnish again to get any bubbles out of the adhesive. This will make the back side of the paper crystal clear for the opposite side. You will be able to see where you need to burnish easily from the back side. Be careful not to scratch the acrylic when doing this! ALWAYS burnish on the PAPER side!
Photobucket

A happy flip side free of bubbles.
Photobucket
Photobucket

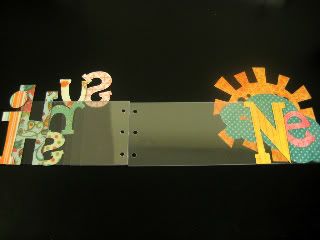
Part 1 all finished! Looks pretty neat so far!
Photobucket
Photo mats and embellishments next time!