The first thing I like to do is choose papers and lay them out in the order I want them to be.
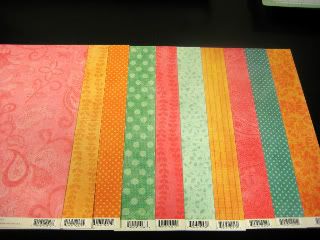
These papers are from the Bloom & Grow line (both color ways used) from My Mind's Eye. I used the more "solid" color sides. The multi color sides will be used later for the photo mats.
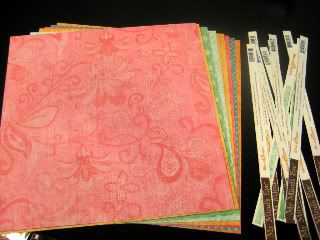
Then I trim off the white border so it will fit on my cutting mat nicely.
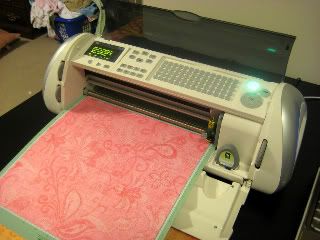
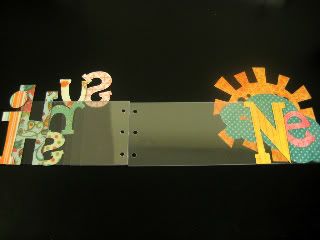
Then we start cutting letters! You can't see my laptop with Design Studio running, but it's there.
When you are cutting letters...make sure you are cutting the right one on the right page. I cut an N on the right paper, it was just the wrong N...OOPS!

Keep cutting until you have all your peices.
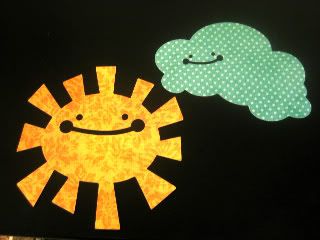
aren't they cute?
Now onto the adhesive. The Xyron permanent adhesive is probably your best bet. You need a smooth and even layer over the entire peice so that the adhesive doesn't show on the other side.
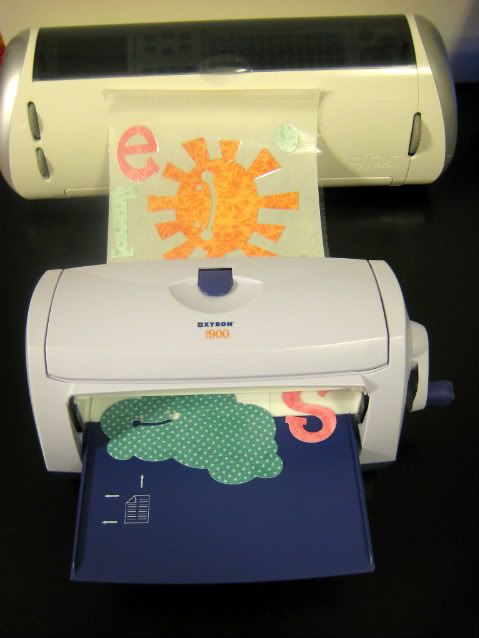
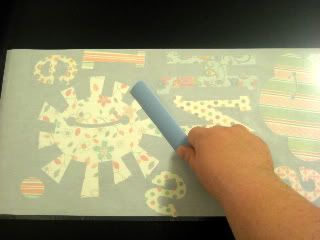
Make sure you flip your sheet over and burnish really well to make sure the adhesive is applied without any bubbles and will not peel off when you remove it from the liner. A plastic tool will work best.
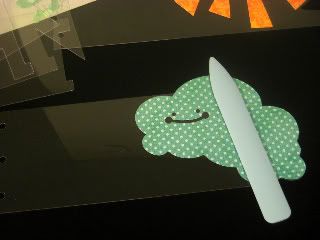
Make SURE you peel the protective liner off the acrylic peices BEFORE adhering your letters! Be very careful when placing the letters. They stick easily and are impossible to remove.

Once you have the letter or shape in place, burnish again to get any bubbles out of the adhesive. This will make the back side of the paper crystal clear for the opposite side. You will be able to see where you need to burnish easily from the back side. Be careful not to scratch the acrylic when doing this! ALWAYS burnish on the PAPER side!
A happy flip side free of bubbles.
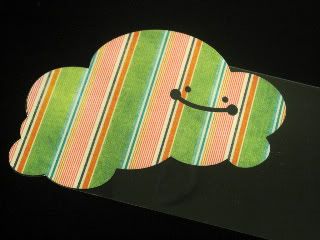
Part 1 all finished! Looks pretty neat so far!
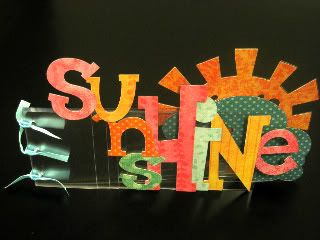
Photo mats and embellishments next time!


That is too freaking cool hun!!! I love it!! man now i have to buy acrylic! LOL!!
ReplyDeleteThis is very cute... what cart did you use for the sun and cloud. I just love them.
ReplyDeleteThe sun is from Doodlecharms, and was edited on Design Studio. For the faces-eyes and cheeks are circles from George, and the mouth is a swish mark from Opposites Attract. The cloud is a conglomeration of ovals from Doodlecharms (the spider body on blackout I think?)
ReplyDeleteDid you cut the acrylic sheets on the cricut???
ReplyDeleteI did cut the acrylic with the Cricut. You can see a quick video about it on this blog too!
ReplyDelete